Tips & Help
How To Quickly Transfer Photos and Videos from iPhone to Mac
Updated 17 June 2017.
We take a lot of photos on our iPhone 7 and iPhone 7 Plus in addition to a Sony Alpha 600 digital camera.
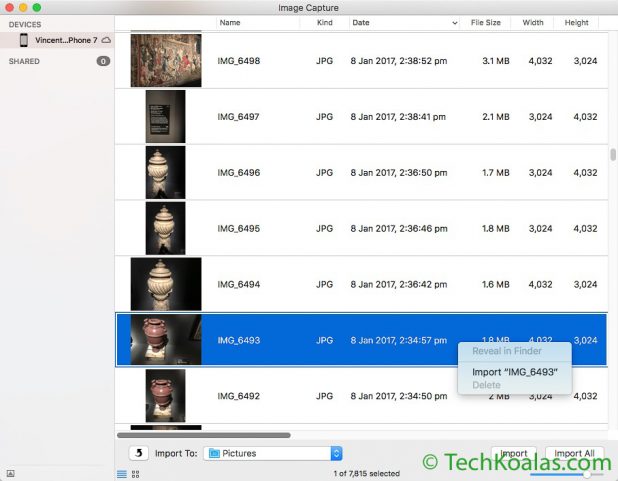
To transfer photos and videos from our iPhones to my MacBook for post processing the quickest way I’ve found is to use the Image Capture app that comes pre-installed with Mac computers.
However I don’t use the Import button. To me it’s quicker to select the files I want to transfer then drag and drop them directly onto Finder in a destination folder.
1. Connect iPhone to MacBook
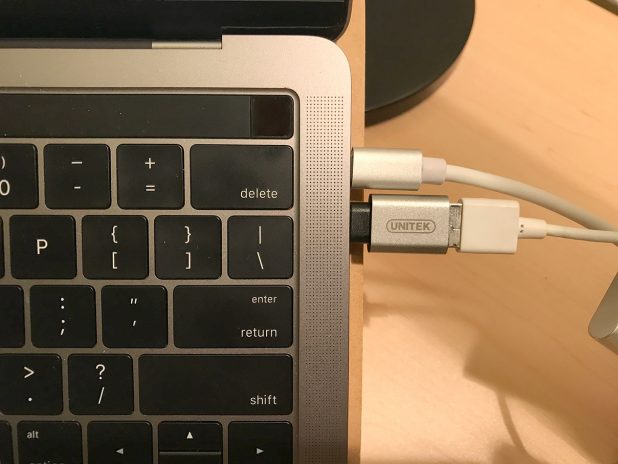
I use an USB-C to USB adaptor to connect my iPhone 7 to the MacBook Pro Late 2016.
2. Launch Image Capture on the Mac
3. Launch Finder and create a folder that will store the files
4. In Image Capture, click on Date column to sort by creation date
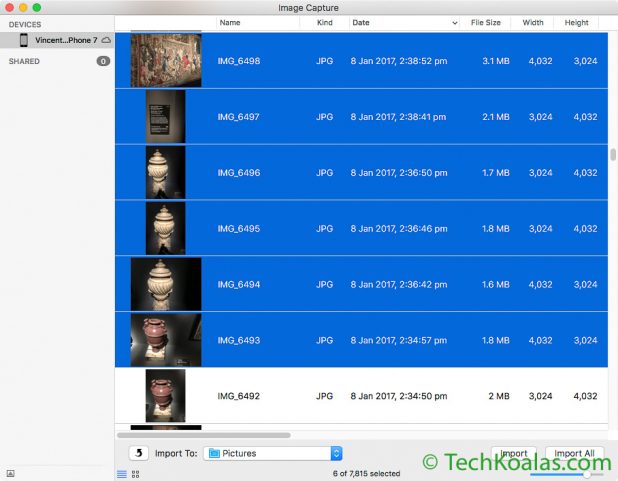
5. Select files you want to transfer
6. Drag and drop them directly on to Finder in the folder you created in step 2
Notes
- Because I activated iCloud photos, the Delete option in Image Capture is disabled. To delete photos and videos from Camera Roll we’ll need to do it on the iPhone.
Configuration
- MacBook Pro Late 2016 with Touch Bar
- MacOS Sierra 10.12.3
- Apple Image Capture version 6.8

