How to install a new in-car digital player with bluetooth in a Mitsubishi Magna ES TL

This post is a following piece from my post about removing the original Clarion CD player in a Mitsubishi Magna ES TL.
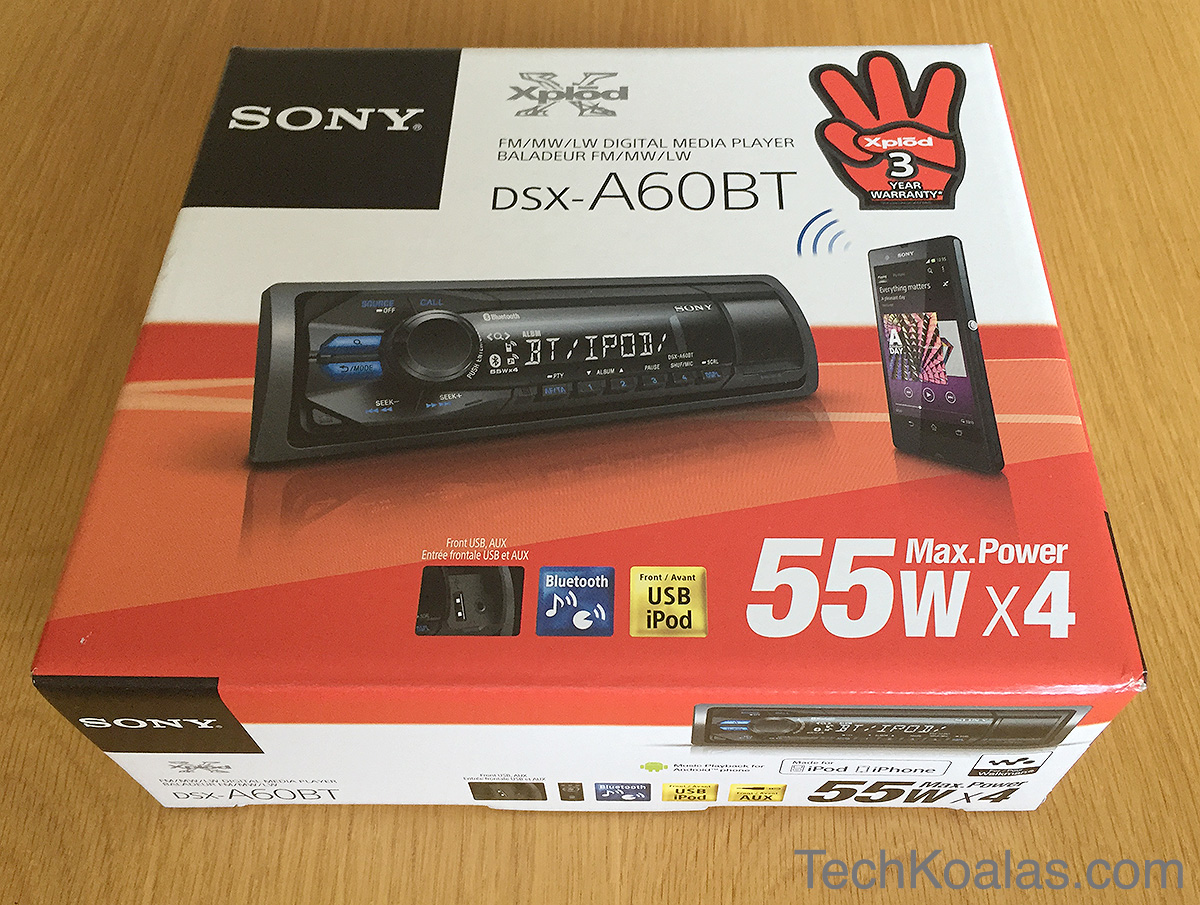
It shows the steps to install a new in-car digital player with bluetooth for hands-free capability. The model I installed is the Sony DSX-A60BT. I did an article on unboxing of the unit here.
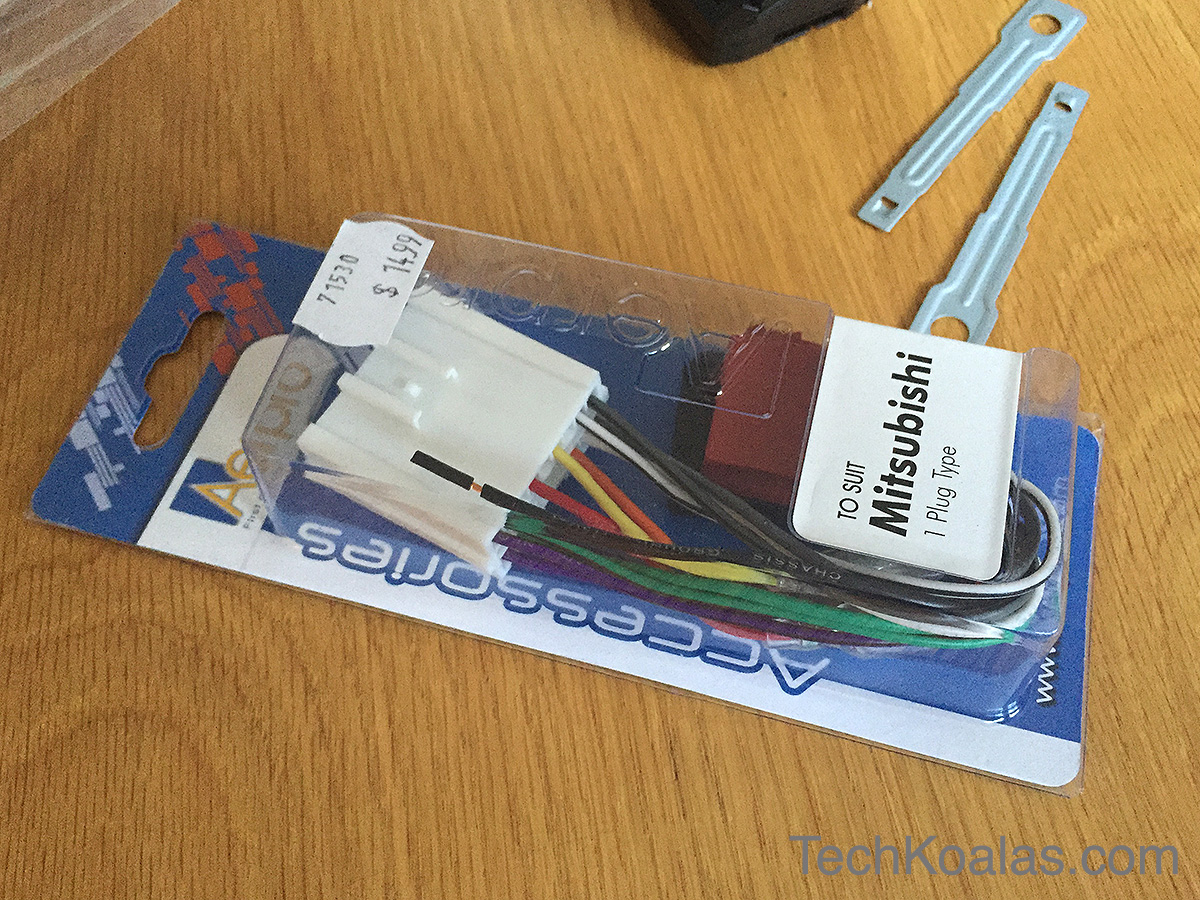
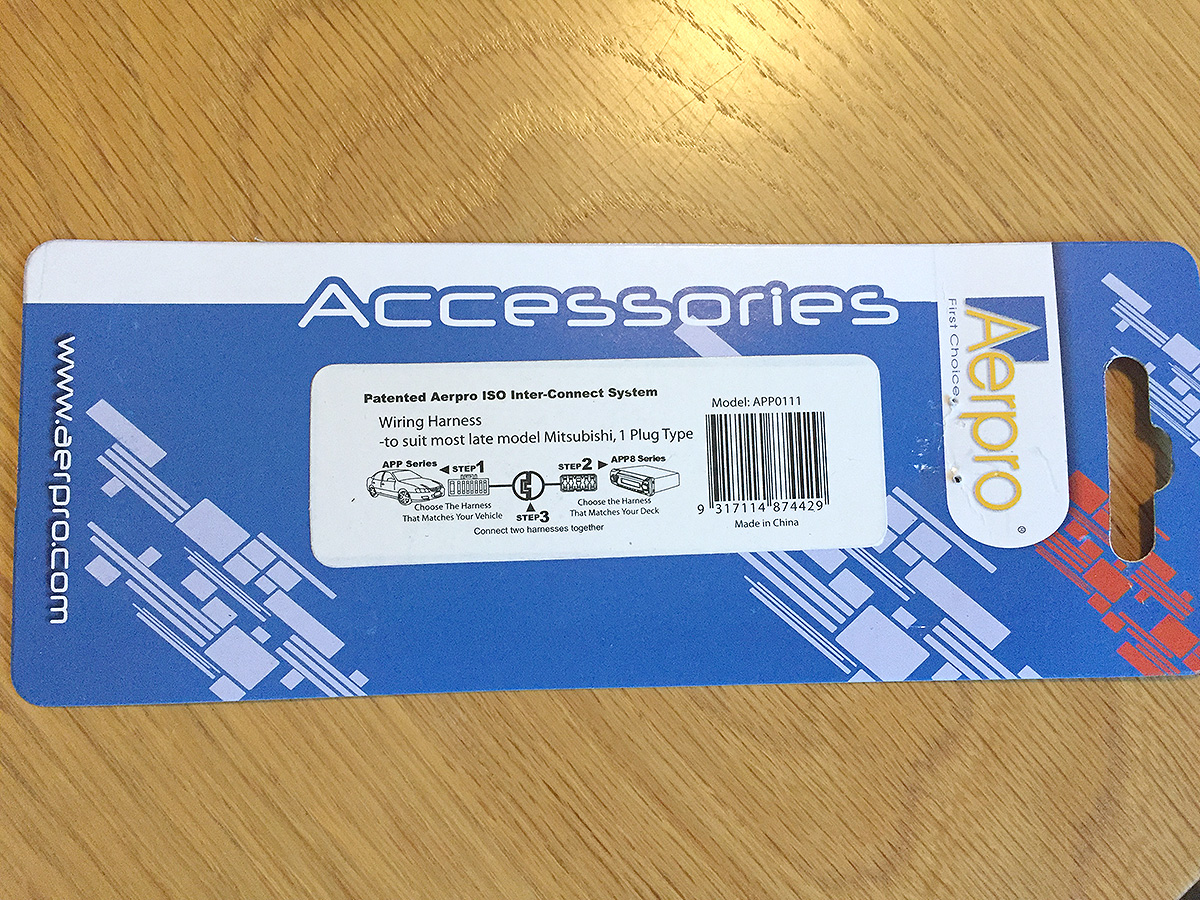
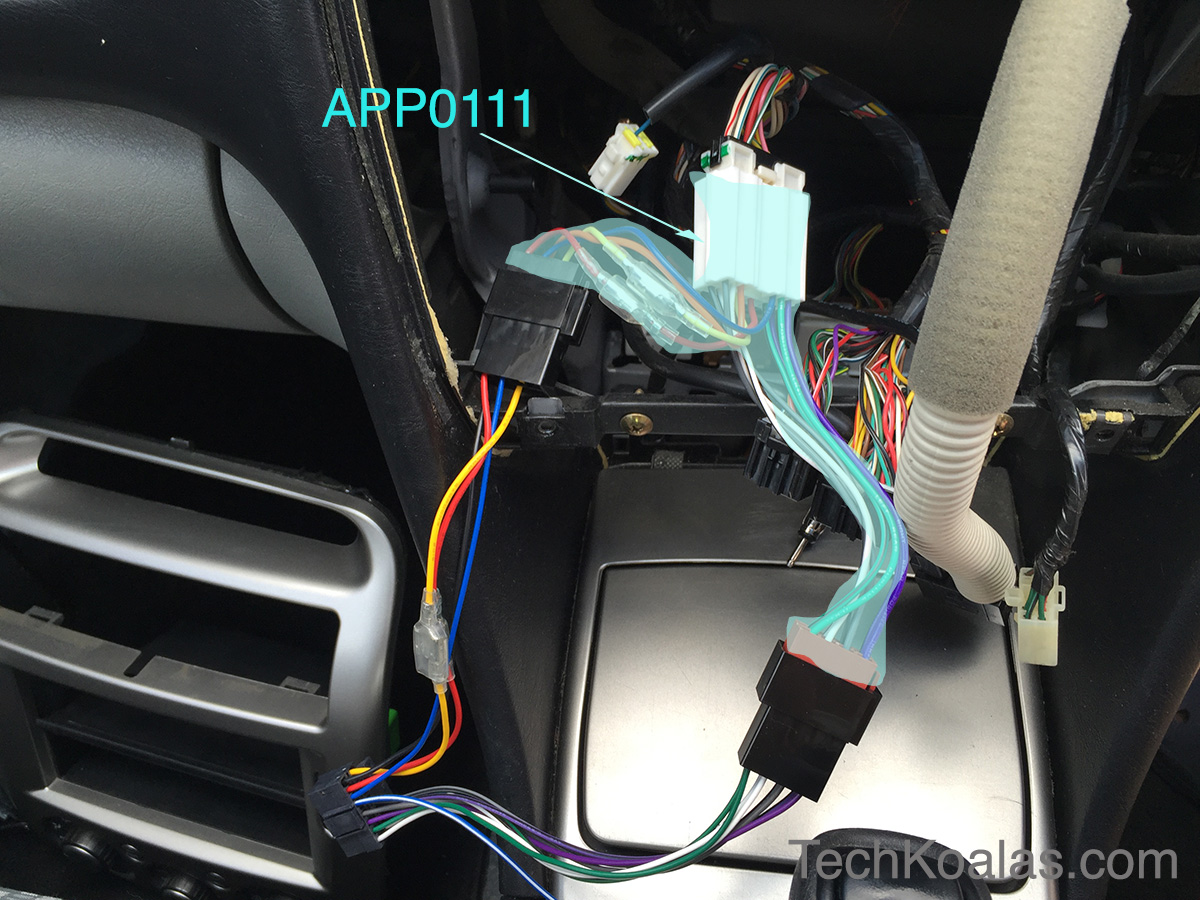
To connect the Sony unit to the Magna you can buy an APP0111 wiring harness from Aerpro5. (For Aussies, these can be purchased at JB-Hifi stores)
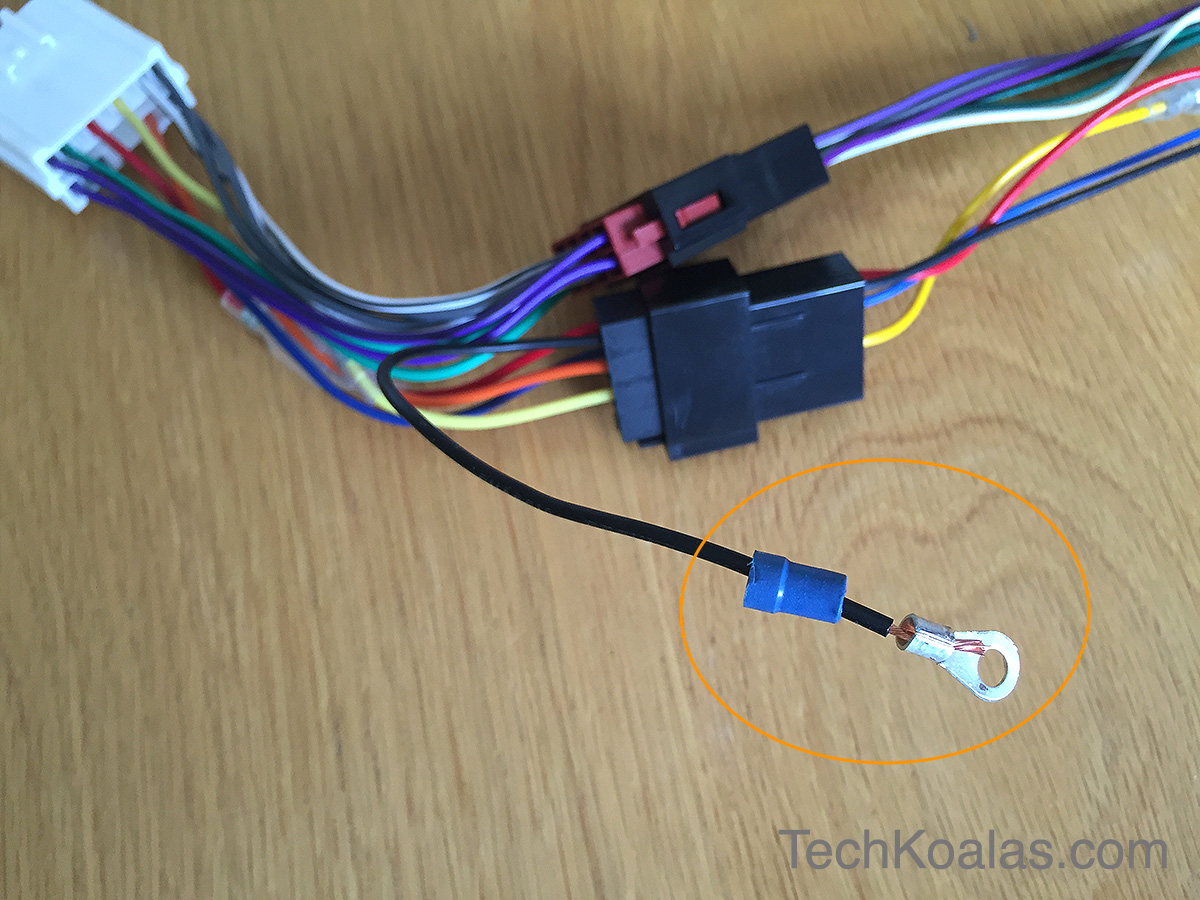
I prepared the earth wire so it could be attached to a metal part with a screw:
Once we have the accessory the steps are straightforward.
Note 1: I disconnected the battery before installing the new unit.
Let’s start by removing the enclosure from the Sony unit and attach the original brackets to both sides.
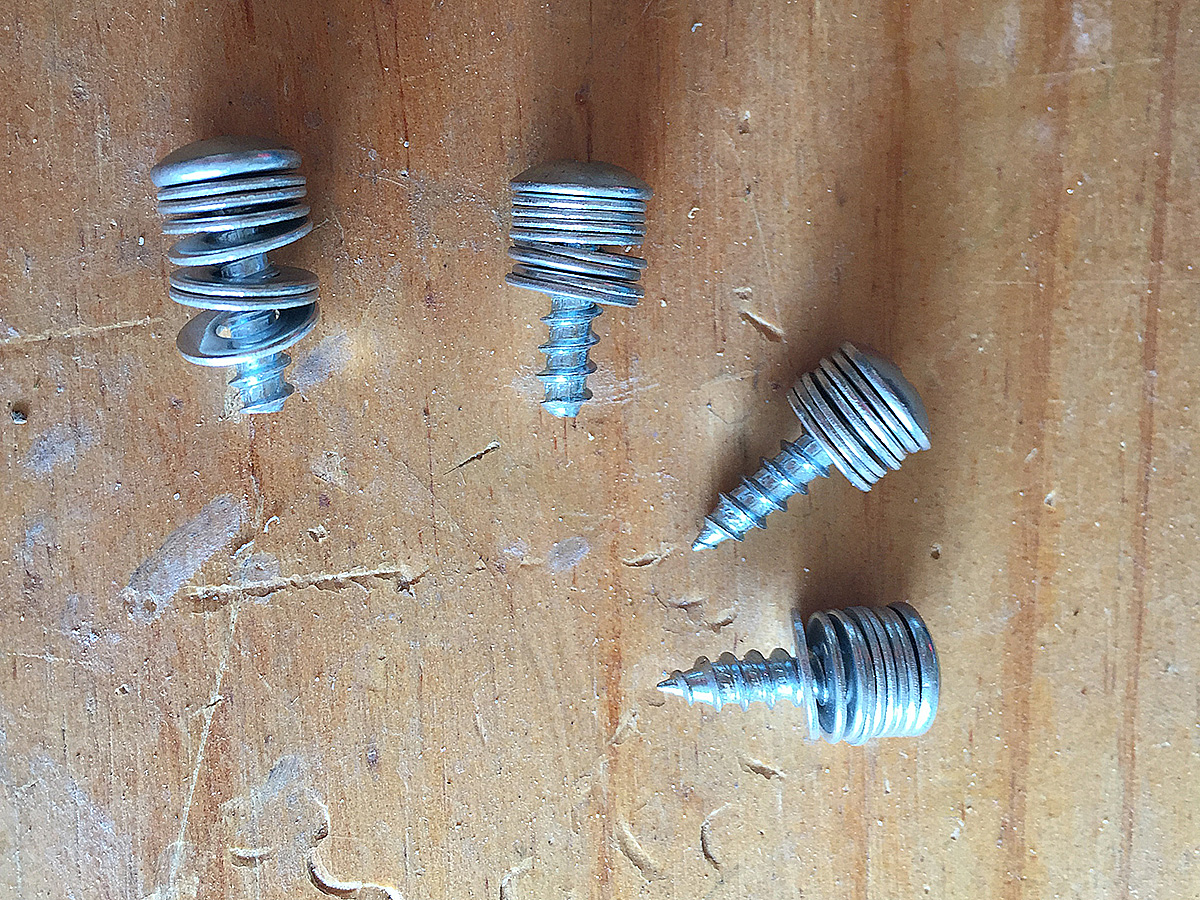
Note 2: the screws that are used on the Clarion don’t have the same threads as the Sony, you may have to buy 8 screws to attach the brackets. The screws I had handy were too long so I had to use stacks of washers to prevent them from damaging the unit’s internals.
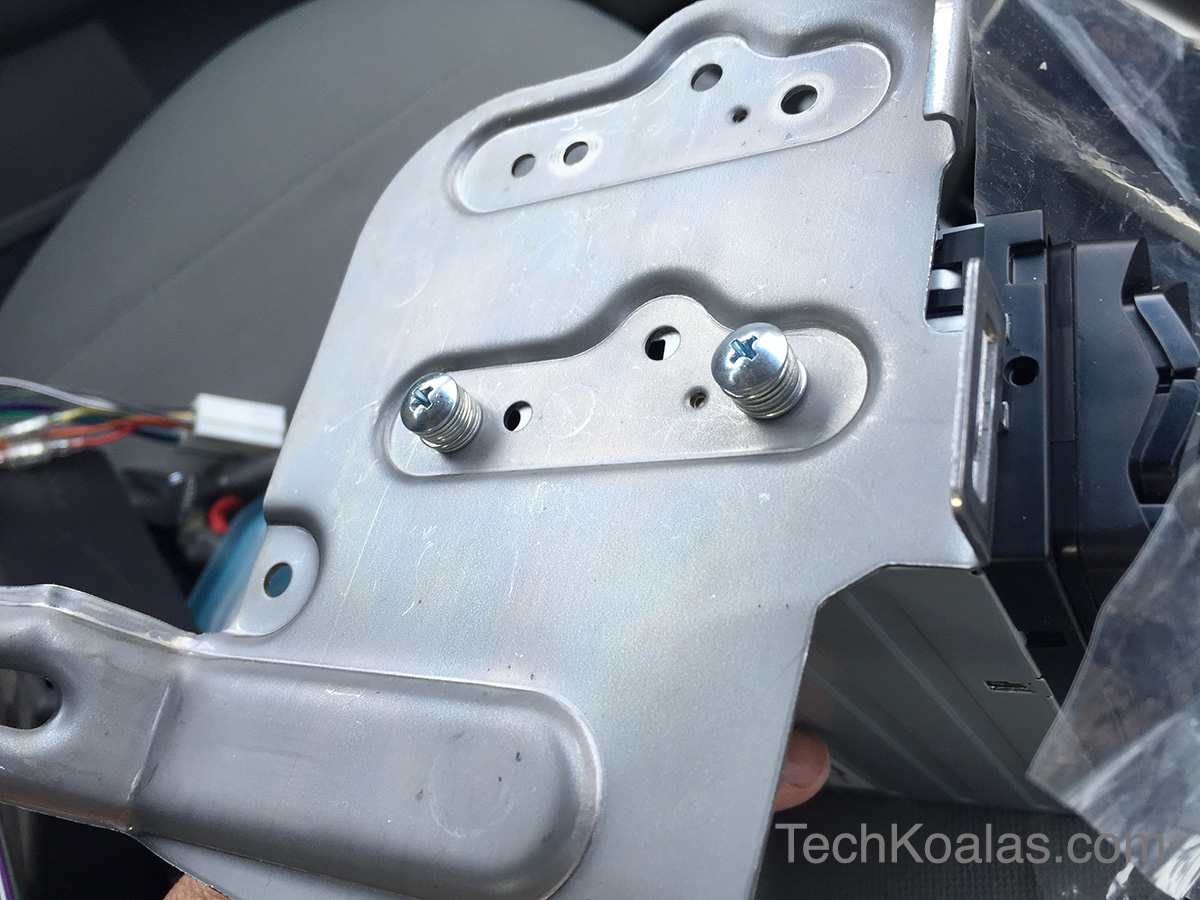
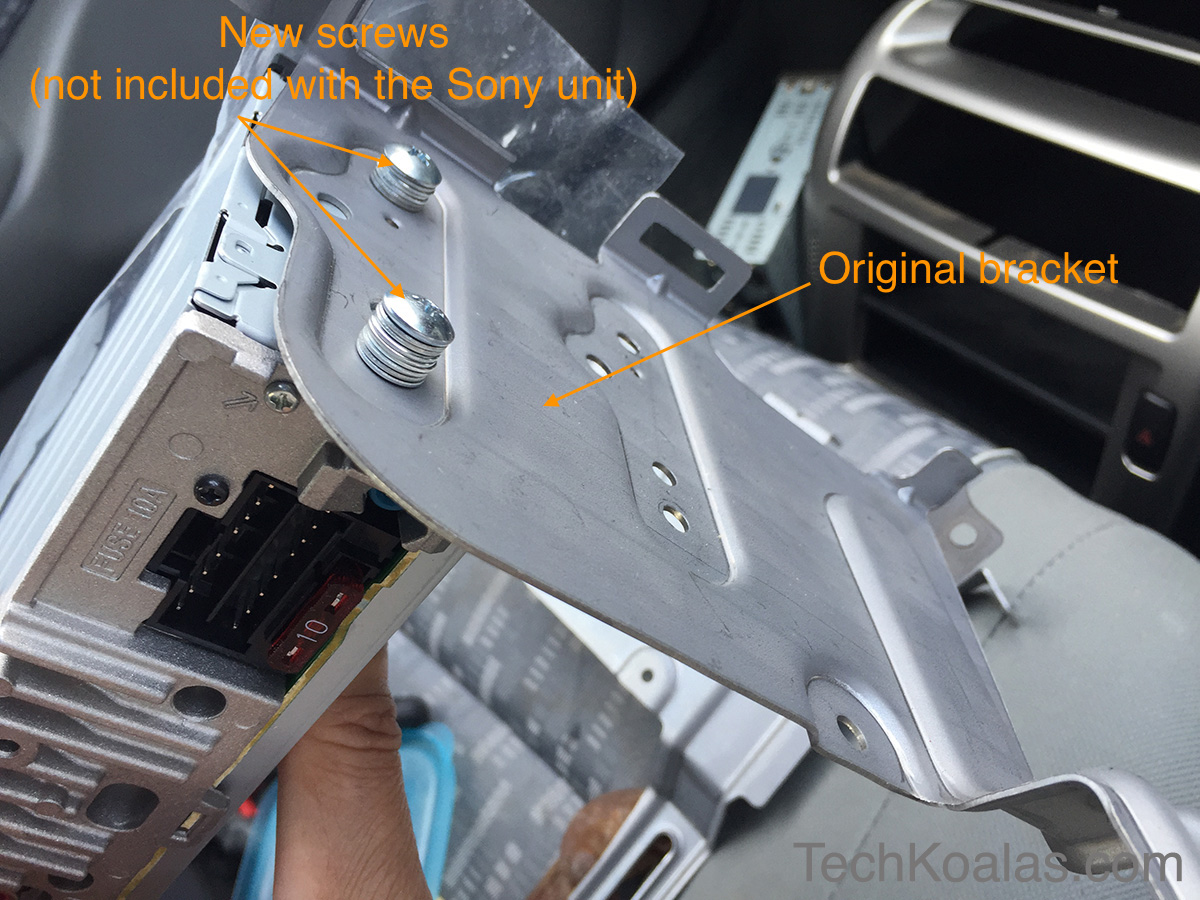
Brackets attached to the side of the Sony head
Attach earth wire to a metal frame

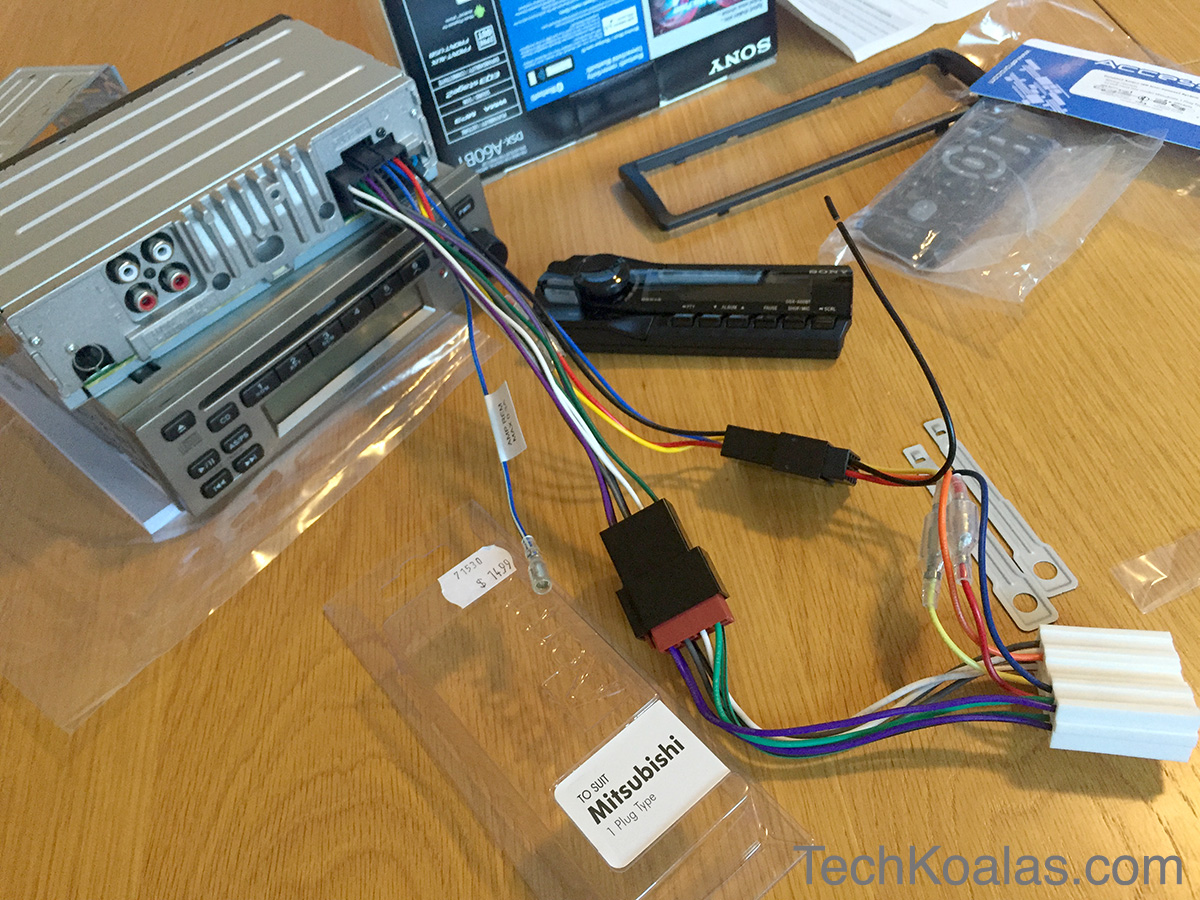
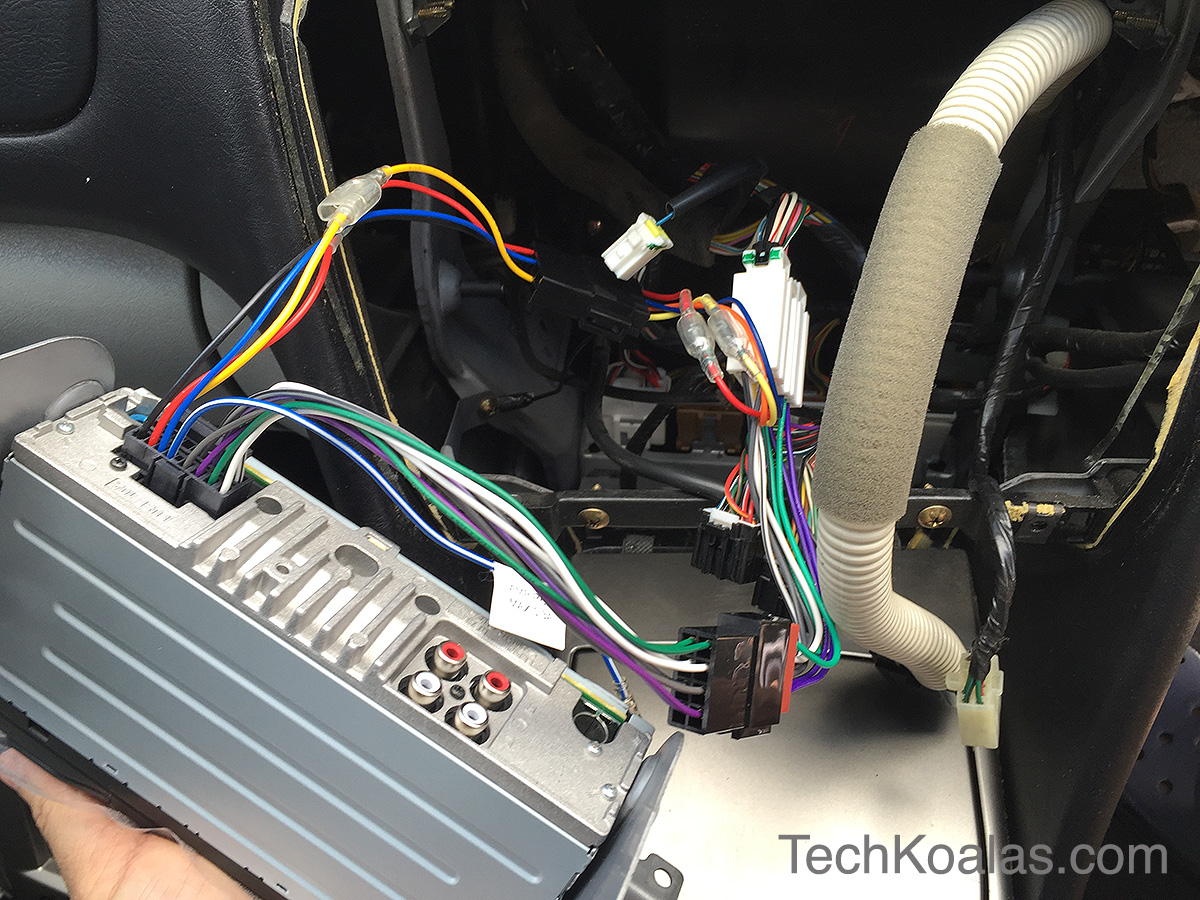
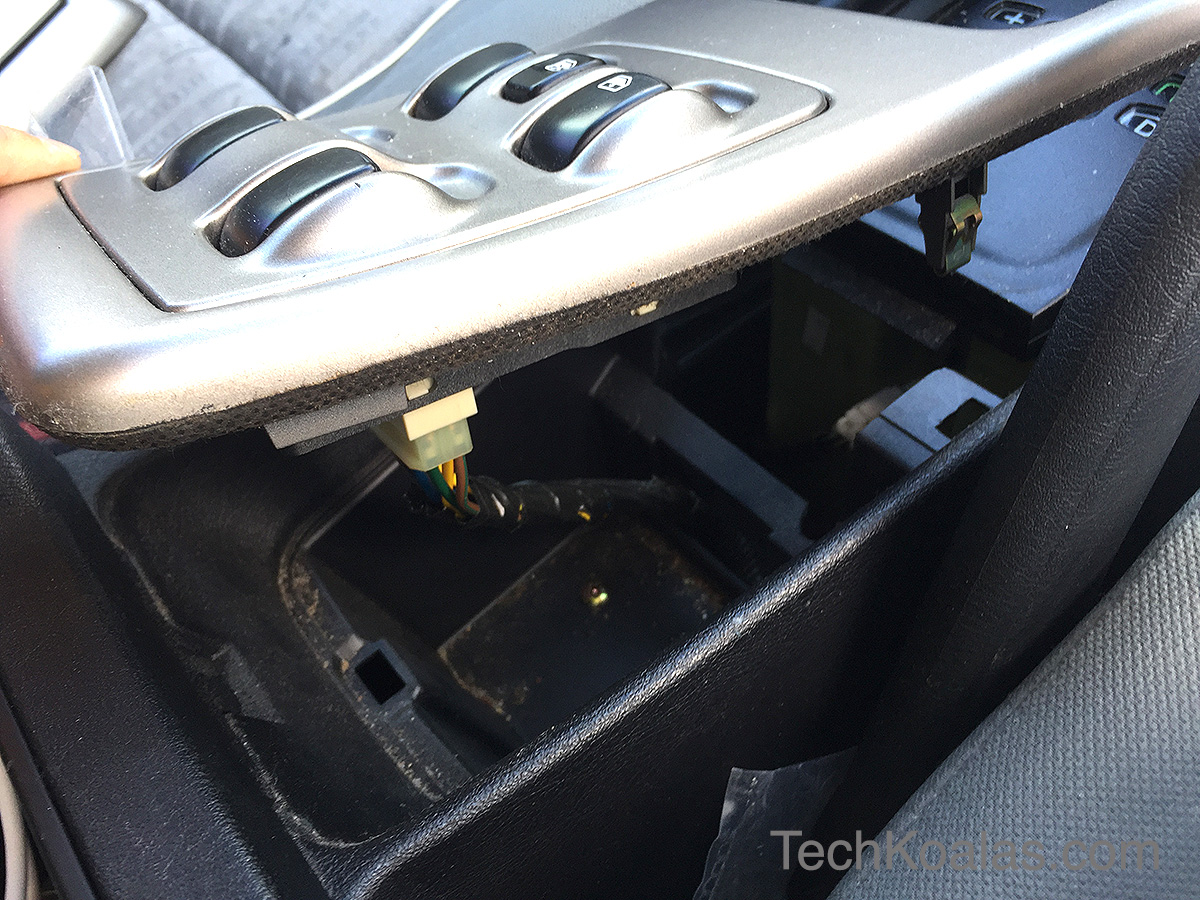
The areas in cyan on the photo shows the wiring harness adapter APP0111
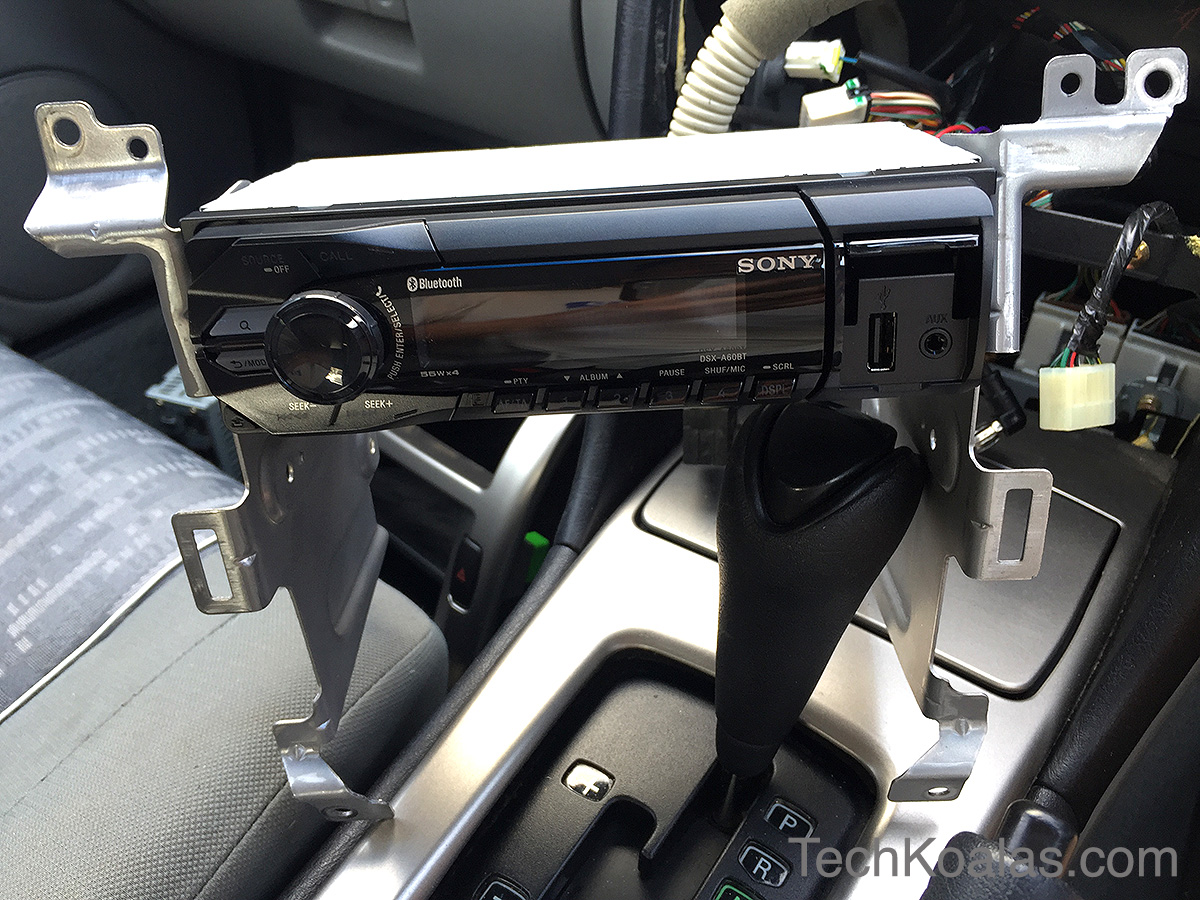
Connect the Sony unit. Don’t forget to plug in the aerial cable too
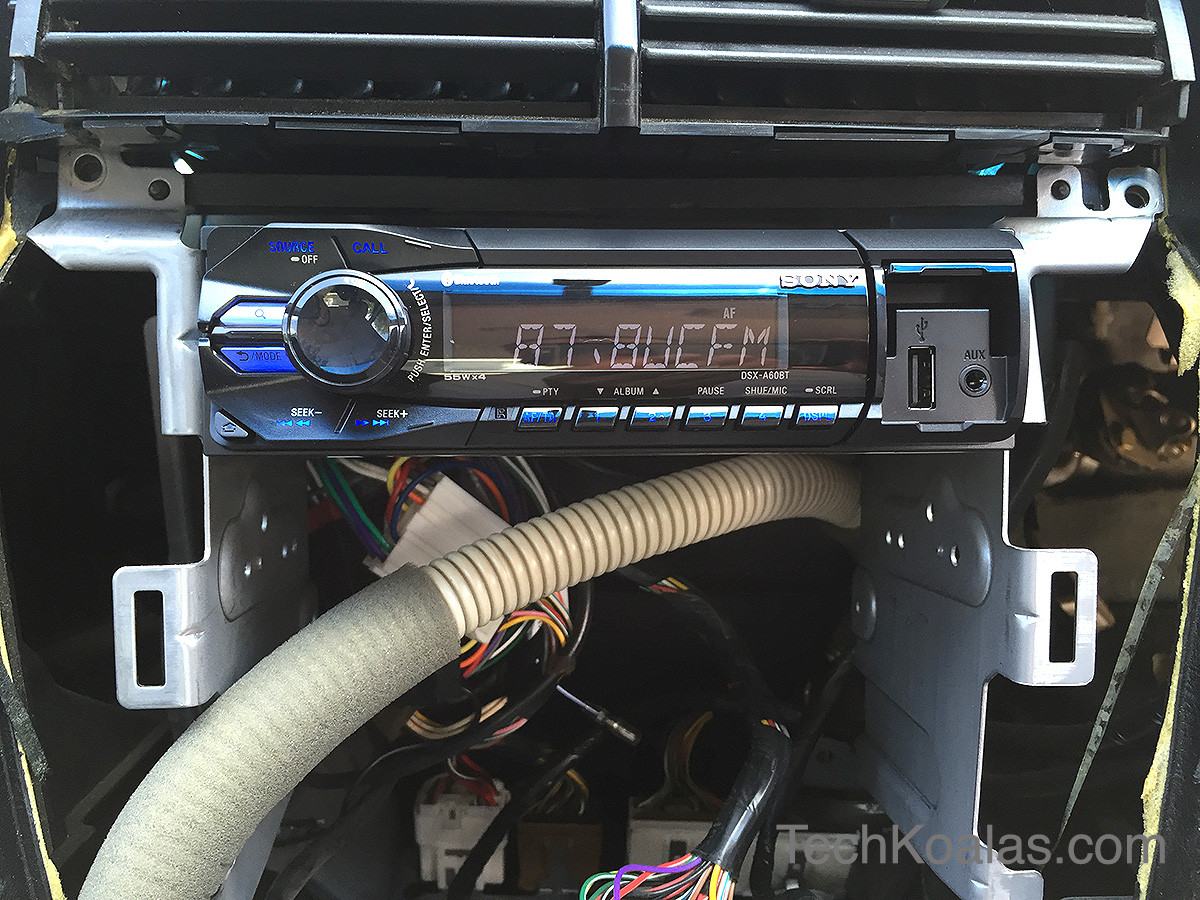
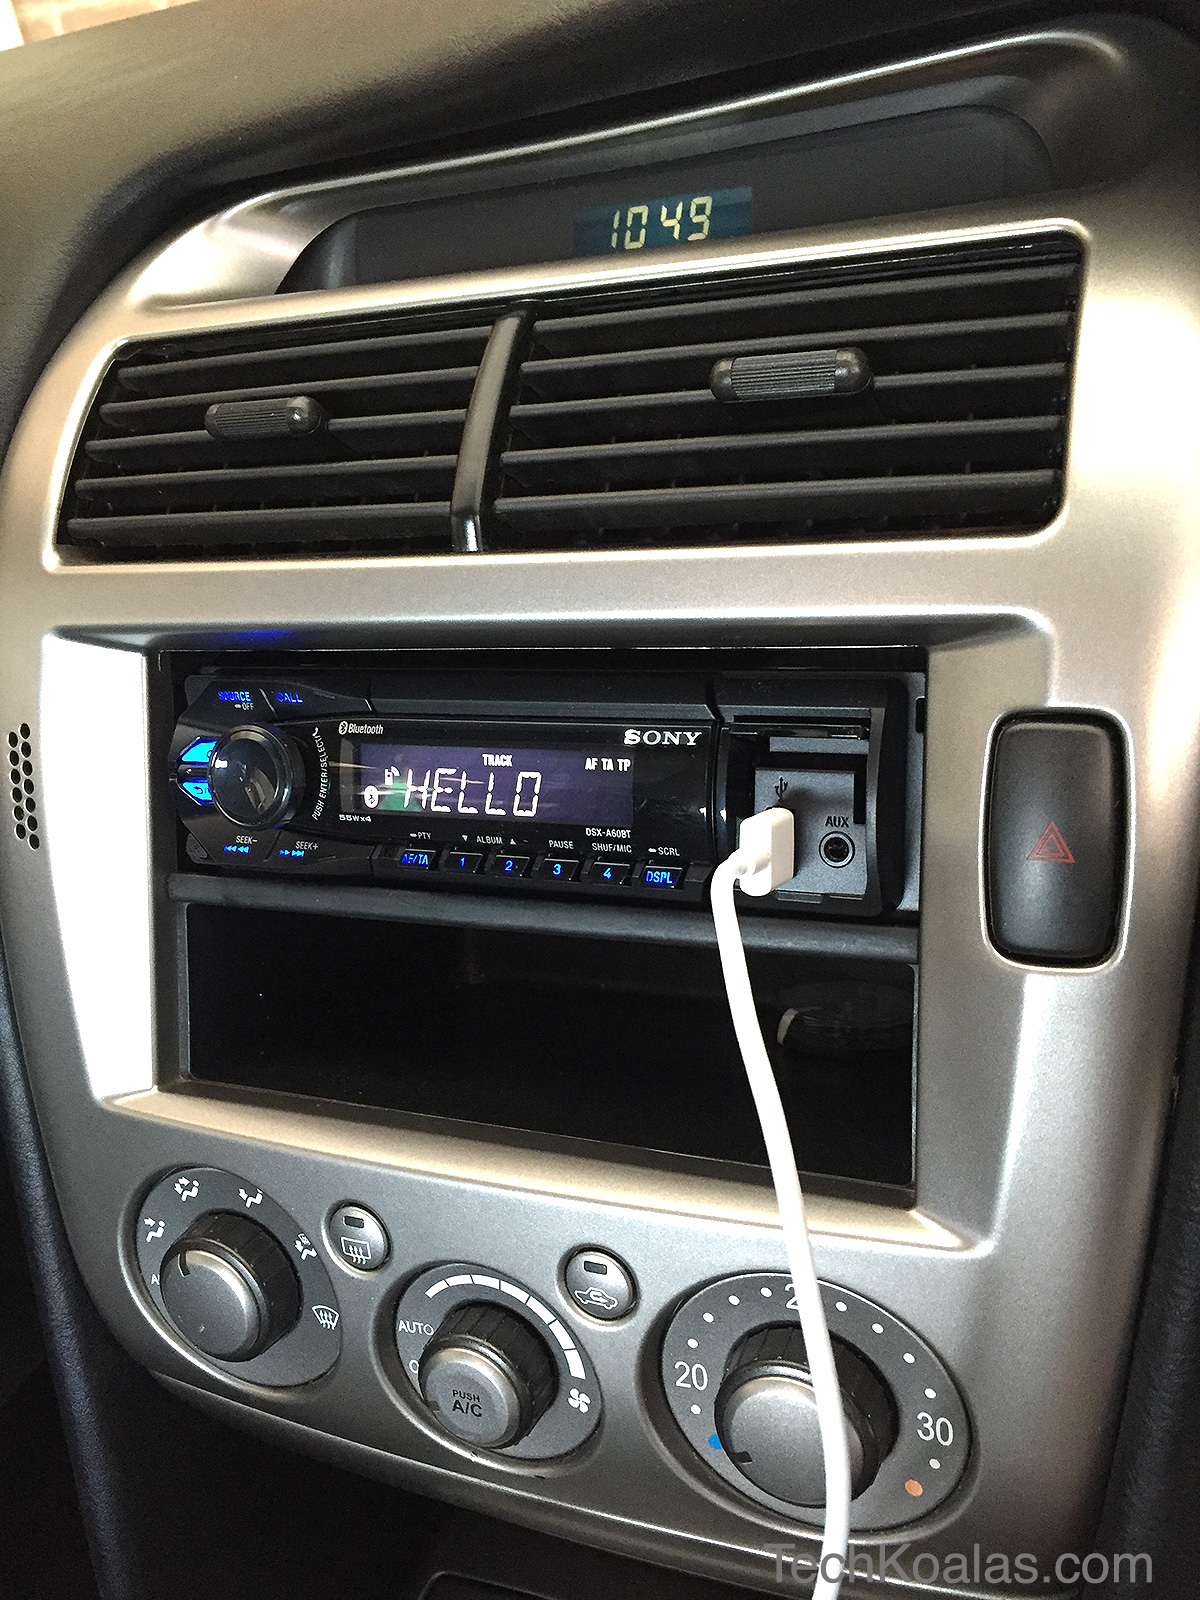
Re-connect the battery and turn the new unit on to check it’s powered
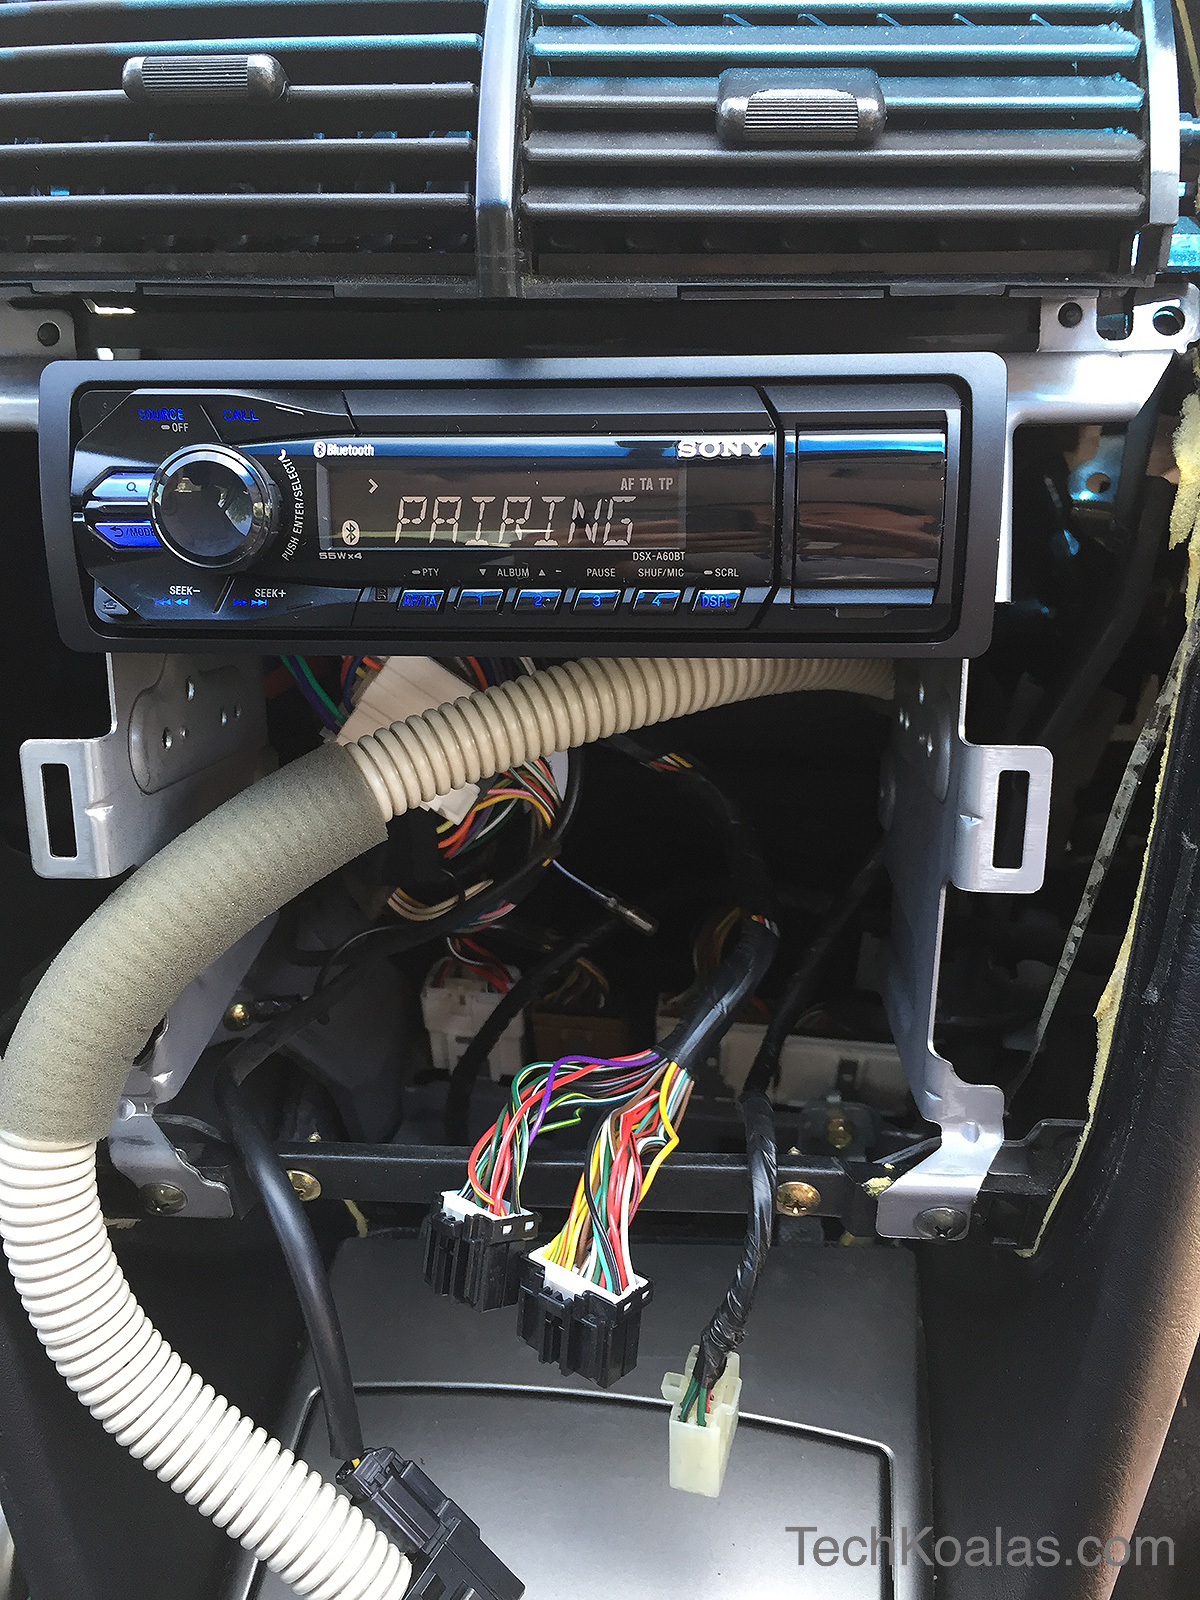
Bluetooth pairing with iPhone took less than 60 seconds to complete successfully
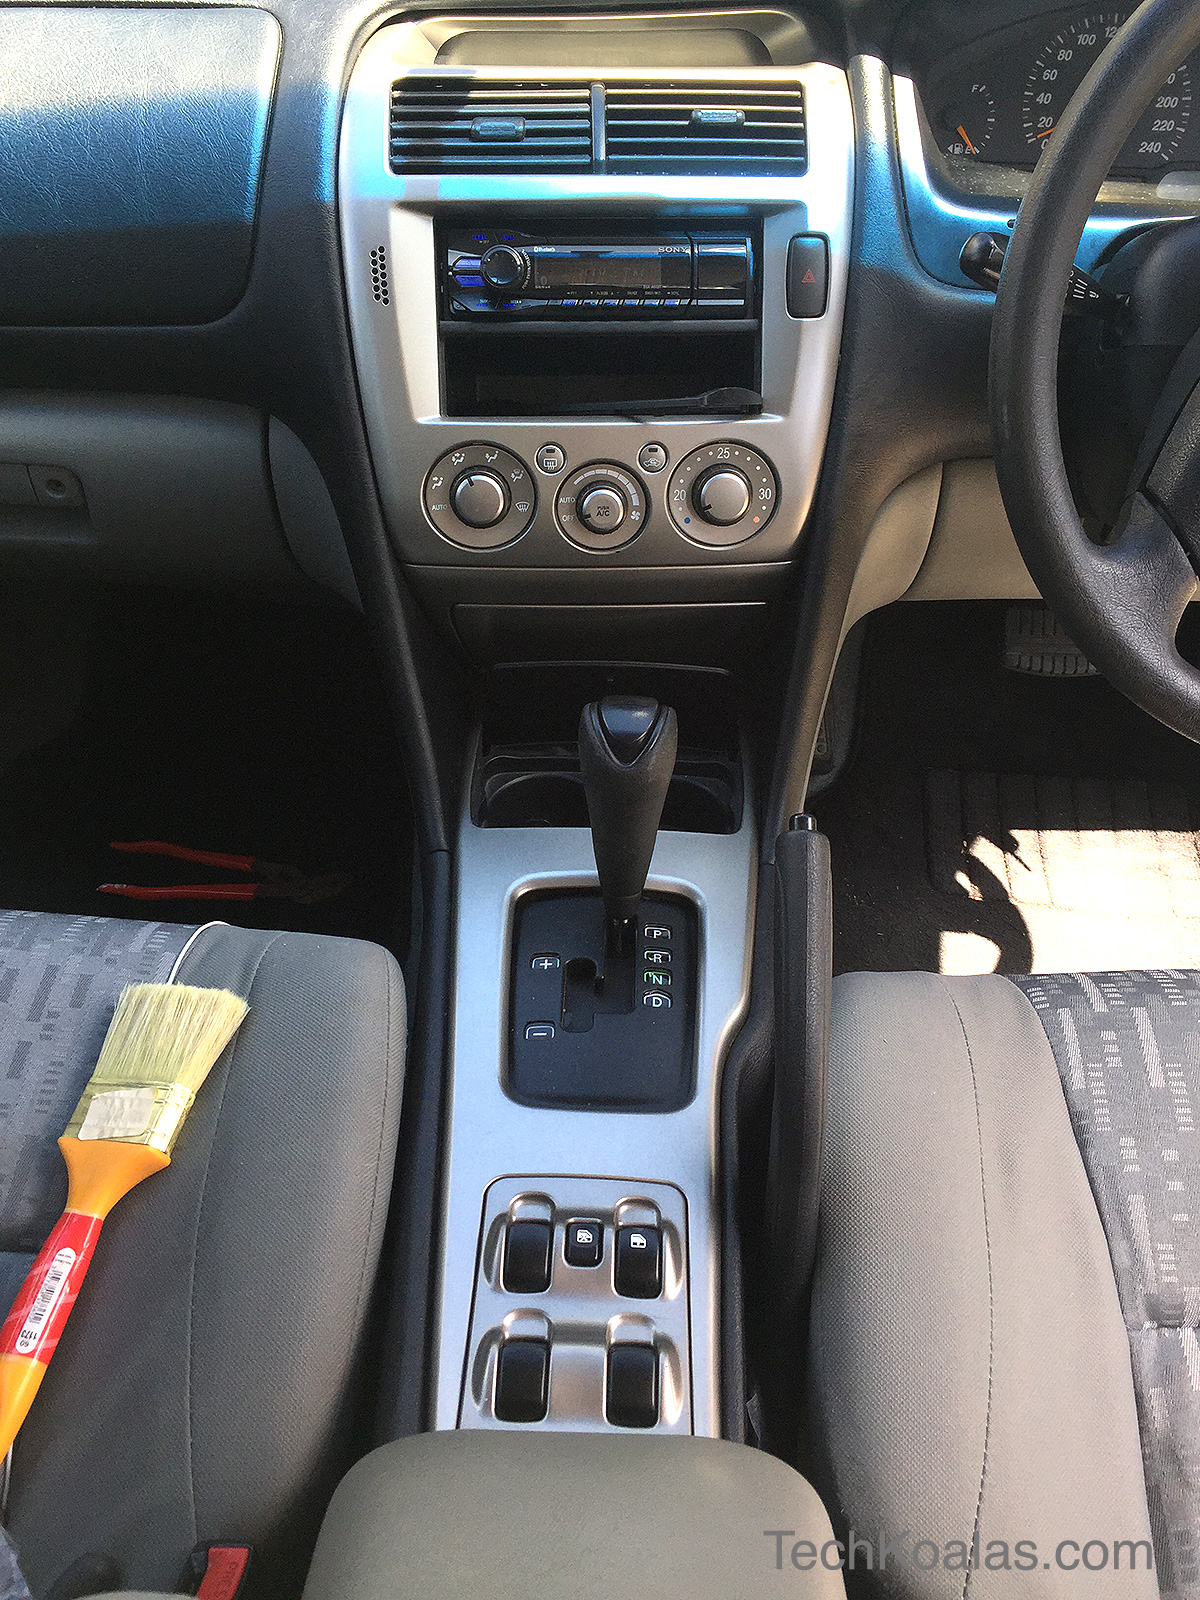
Let’s put all the covers back
Checking
- Radio works, aerial automatically extends out and pulls back in as expected
- Bluetooth works with iPhone,
- USB connector can charge mobile device too
A few notes
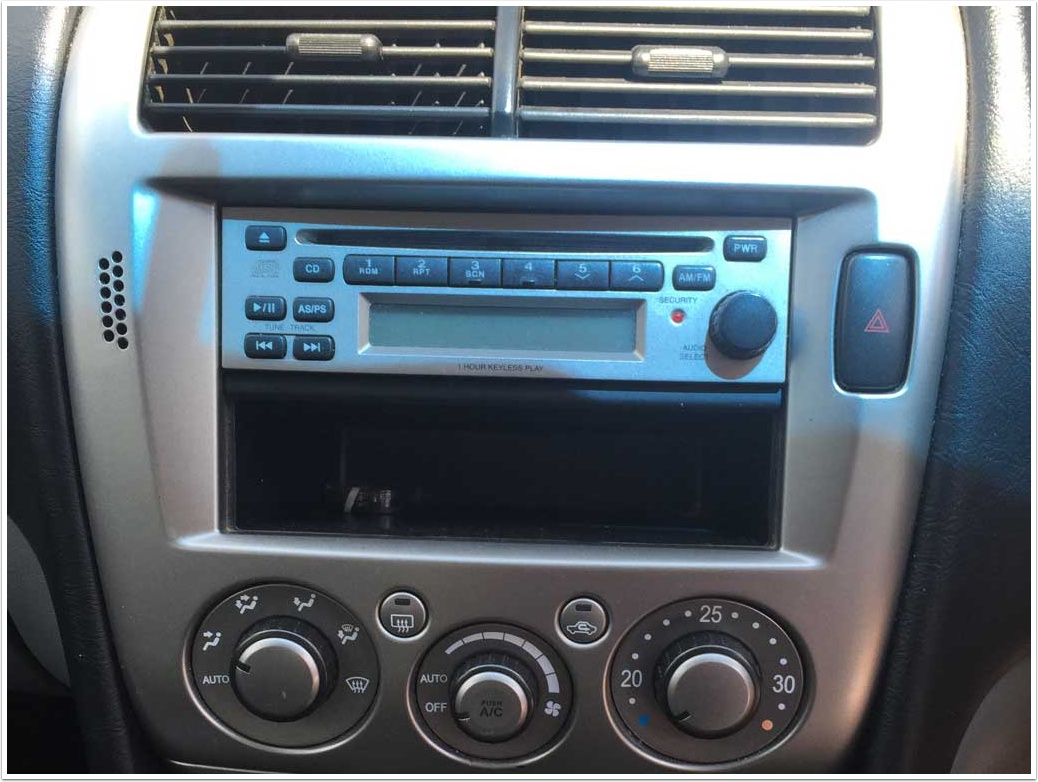
The black trim around the Sony unit could not be left in place as it’s a bit too thick and too wide which prevents the climate control cover to be put back in place. I took it off.
When the key is removed from dashboard, the unit also makes beeps to remind you to take the front panel off if you wish.
The Sony DSX-A60BT has been working fine since I installed it a month or so ago. Under the right-hand-side cover, there is a USB port that I use to recharge my iPhone while on the road.
Hands-free mode works great via both USB or Bluetooth.
Now I can play music and podcasts from my iPhone directly on the car stereo system.
Update following a question from a private comment
The installation from start to finish took me about 3 hours.
I think I could have done it under 2 hours if I had the right screws to attach the brackets to the unit. Because the screws I had available were pointy and too long, I had to sand the tips and use washers as seen on the photos below.

If you have installed a new stereo unit in a Magna 2004 please feel free to share your experience in the comment section below.

Thank you for posting this very clear step by step guide. An added bonus was by coincidence I had almost the same radio to install (Sony DSX-A400BT)! It all went well.
I did have to make two trips to SuperCheap Auto as two harnesses were needed. The one you have shown is the ‘harness to match the vehicle’ (shown as step 1 on the harness blister pack). The ‘harness to match to match the deck’ was also needed (shown as step 2 on the blister pack).
Thanks again for posting.
Hi Mark,
I’m glad the article was helpful.
It seems in my case I only needed one extra harness for the car because the one that is connected to the Sony deck was included with the unit.
I hope you enjoy the new music system 😉
Hi Jervis,
Thank you very much for your helpful article.
It looks pretty much the same thing to do with my 2003 Mitsubishi Diamante ES Wagon. Also I’m looking to use a Sony Head unit aswell
You have been a great help.
Hi Jarred,
I’m glad you find the article helpful. Best wishes with installing a new Sony head in your Magna Diamante ES Wagon. 🙂
Thanks for your step by step guidelines. It looks quite tough for me but now I can install this easily.
I have a TL Magna with a head unit that is playing up. One station button is loose and the Volume control works when it wants to. I am glad to come across your guide and thank you – this gives me confidence to replace my poor old Clarian unit. Nice work mate!
Thankyou for this detailed information, just bought a new stereo for my magna and have been avoiding installation because it was daunting (ive never done it before) but after seeing this im confident in installing now 🙂
Hi, thanks for the installation guide. I bought the harness for installation. I can’t get power tup the new head unit. Also when plugged in aerial keeps going up n down . Any help would be appreciated.
Thanks I used both tutorials. Really helpful. First time doing something like this. Took about 2 and a half hours, half of that was working out the new head unit and bracket. Appreciate your help.
I bought the harness for installation. I can’t get power tup the new head unit. Also when plugged in aerial keeps going up and down . Any help would be appreciated.
Hi, thanks for the guide. I’ve just pulled my dash apart and had a look at what I need. There’s an almost square white 8 pin plug that appears in the photos on your guide and which I also have on my TJ stereo unit. Unsure exactly what it is, but my new head unit doesn’t have anywhere that it’ll fit. I think it may be for the speakers but not certain. Can you verify this or suggest what it might actually be.